Installing a Home EV Charger: Everything You Need to Know
Switching to an electric vehicle (EV) is exciting, but a dependable way to charge it at home. Up to 80% of Australian EV owners charge at home several times a week, so a home charger is one of the most important upgrades you can have fitted.
This article covers it all: The various EV charger options available, how to plan and install one safely, the prices, Australian electrical regulations, and some clever usage tips. By the end, you'll know exactly how to set up a safe, compliant, and future-proof EV charging system in your home.
A Look at Home EV Charger Options
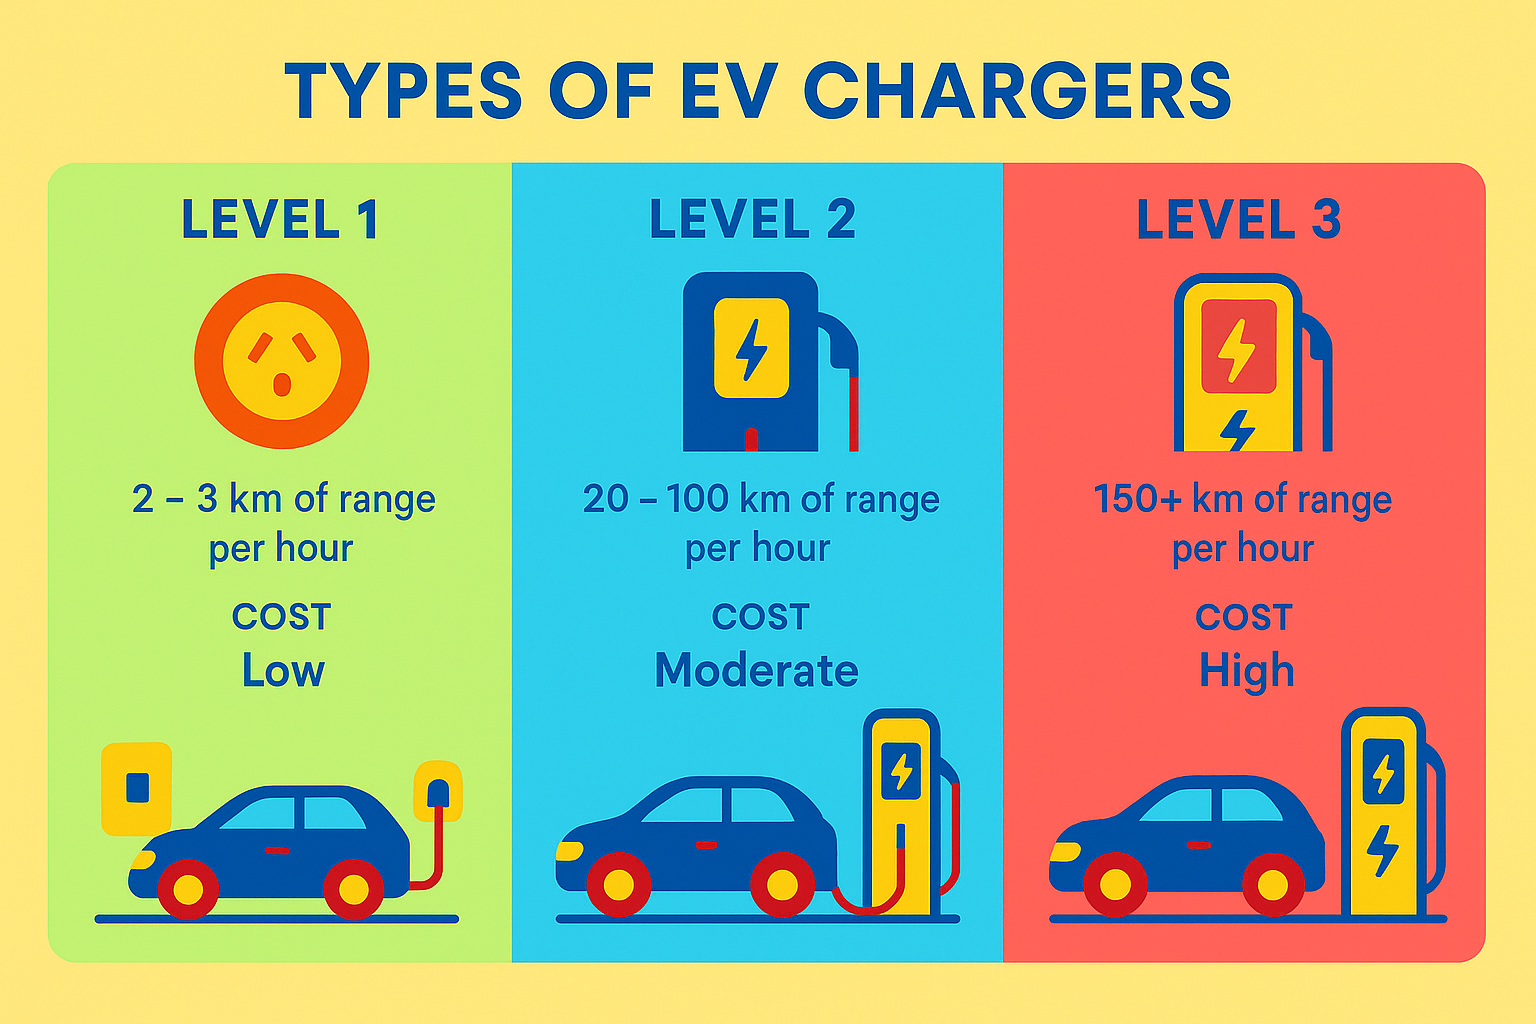
There are three main options for home EV charging in Australia. Each has advantages and disadvantages, and the most suitable one depends on the household electrical installation, budget, and driving behaviour.
Level 1: Portable Charger
The easiest option is a Level 1 charger, which plugs directly into a standard 230-volt household socket. It doesn’t need any installation and usually comes included with your EV.
- Speed: Extremely slow, usually adds just 10–20 km of range per hour.
- Cost: Usually included with the car, or around $200–$1,000 if bought separately.
- Ideal for: Plug-in hybrids or drivers who travel short distances daily.
One limitation is that it may not fully recharge a long-range EV overnight. If you regularly drive more than 40–50 km a day, relying only on a portable charger can quickly become frustrating. Our team can assess if Level 1 suits your usage or if a 7 kW upgrade is smarter.
Level 2: Wall-Mounted Charger
The most common among Australian residents is a Level 2 charger. Installed on a dedicated 240-volt circuit, this device delivers much faster charging than a standard outlet.
- Speed: A 7 kW single-phase charger adds 40 km of range per hour. Homes with three phases can choose 11–22 kW models for even faster charging.
- Cost: The charger price ranges from $600 to $1,800, and installation usually costs between $600 and $1,500.
- Best for: Daily commuters, families with larger batteries, or anyone who wants to wake up to a full EV charge each morning
This is the sweet spot for most houses. Book a site check with us to confirm your ideal power rating. A Level 2 device is fast, efficient, and future-proof, providing convenience for less than the cost of commercial charging equipment.
Level 3: DC Fast Charger
The most powerful option is Level 3 chargers, similar to those at public stations. They can top up most EVs to 80% quickly, but they’re not without compromises.
- Speed: Very fast, compared to home options.
- Cost: $10,000+ for the hardware, plus substantial infrastructure improvements.
- Best for: Commercial sites, not homes.
Because of the massive power requirements, DC fast chargers aren't usually installed in Australian homes. They're designed for highways, fleets, and service stations.
The Smart Way to Plan Your EV Charger Installation
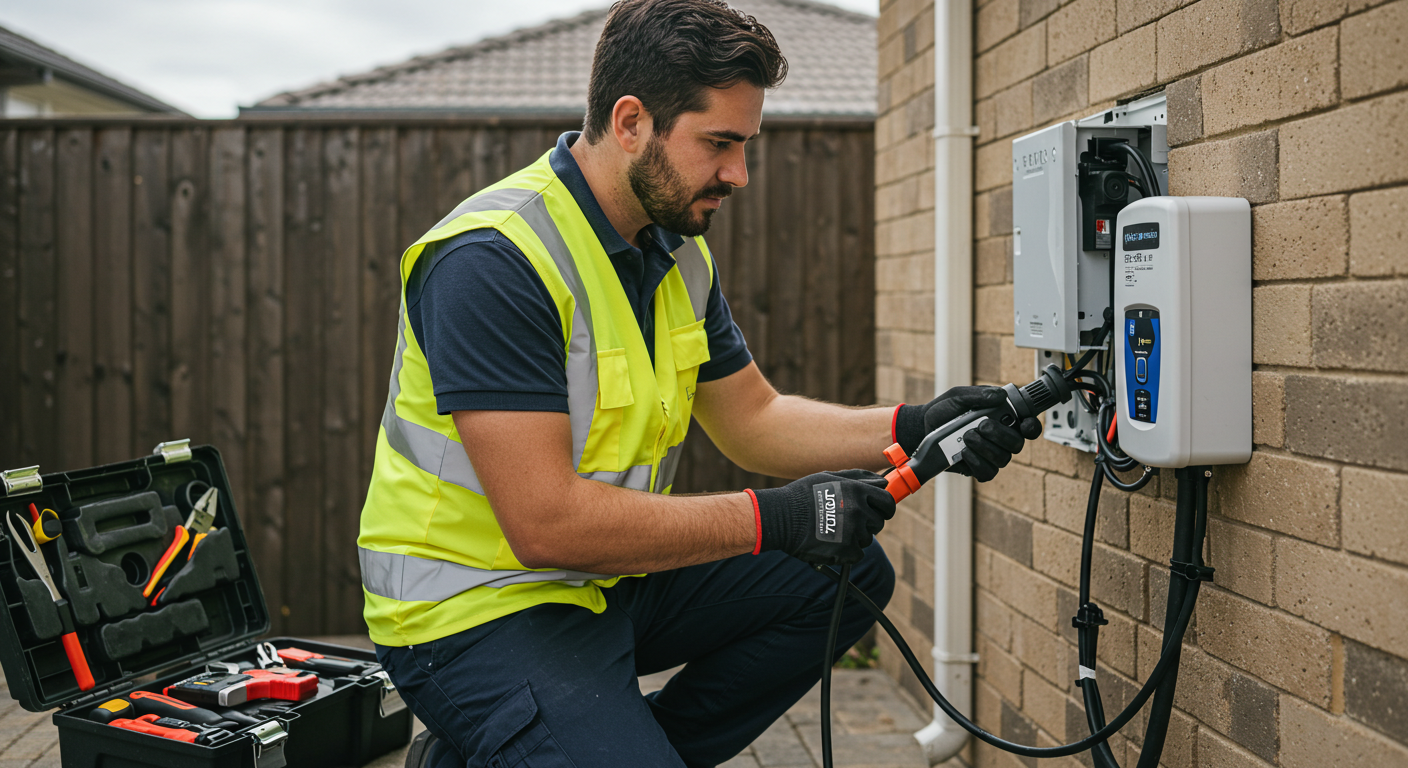
Planning does take some time, but before buying a charger or booking an electrician, it is worth it. Planning can save your money, avoid surprises, and make sure the installation meets current and future needs.
The following are the most significant items to consider:
- Location: The charger should be mounted close to where you usually park. The closer to the distance from your main switchboard, the lower the installation cost will be, as less cabling will be required.
- Weather protection: If it's going inside a garage, you're set. But for outdoor installations, ensure that the unit is weather-rated (at least IP54) and preferably sheltered from direct rain and sunlight.
- Wi-Fi access – The majority of new chargers are "smart" and have scheduling and monitoring apps. To utilise these regularly, ensure the site you choose has a reliable Wi-Fi or mobile signal.
- Future needs – If you're likely to have a second EV in the future, plan. You could leave space for a second unit, or consider a dual-output charger now to avoid having to double the work later.
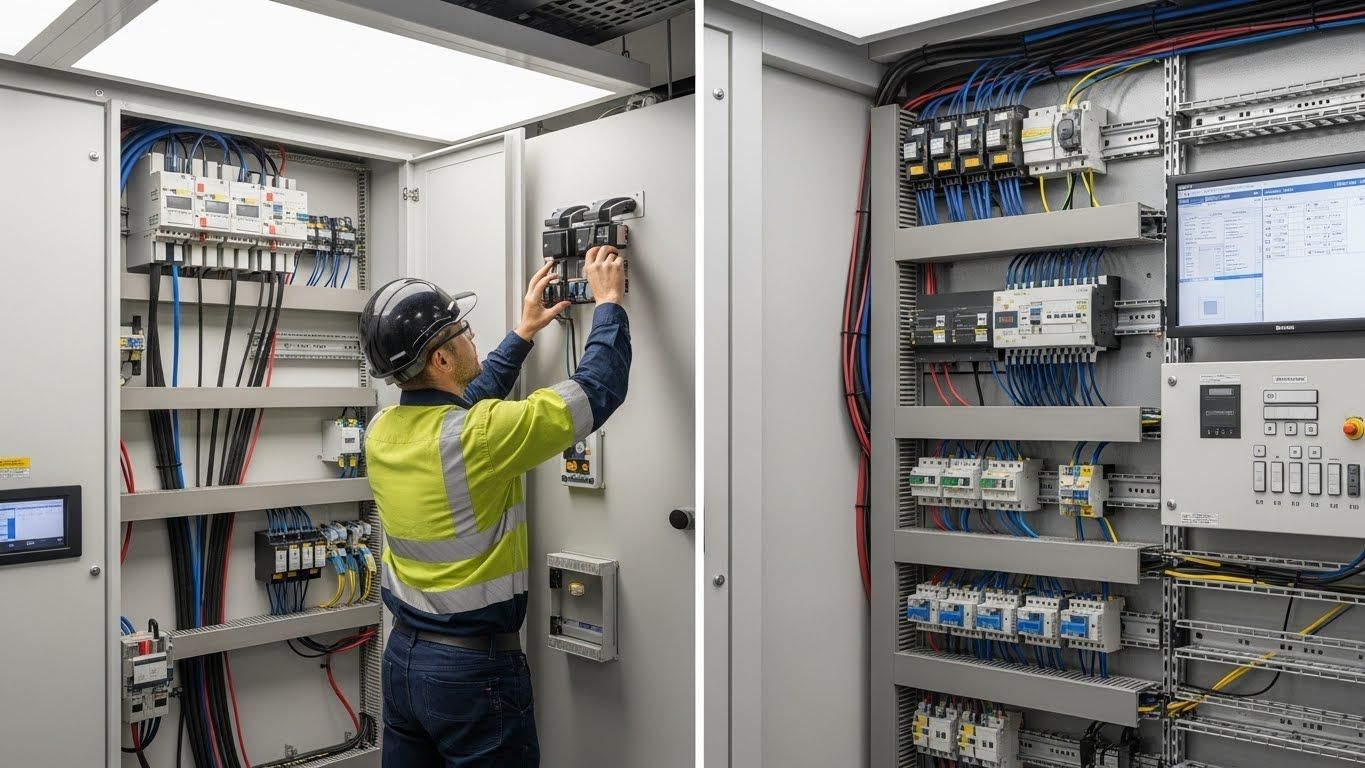
- Switchboard capacity – Older homes sometimes struggle with the extra electrical load. Your electrician will check if your panel can handle a 7 kW or higher circuit, and advise if an upgrade is required.
By considering these factors early, you’ll make the installation smoother and avoid unnecessary costs. A little planning ensures your charger is not just convenient today, but also ready for whatever your EV future looks like.
How to Pick the Best Charger
With so many EV chargers in the market, it's only logical to feel confused. The good news is that you don't need to be an electrician to make a smart choice. Look for a few basic features, and you'll be shortlisting in no time.
- Power rating – Match your EV's onboard charger to the output of the charger. Most EVs in Australia will accept around 7 kW on single-phase, while some will accept three-phase up to 11 kW. Buying more power than your car can take won't accelerate charging.
- Smart features – Look for scheduling, solar integration, usage monitoring, or remote control. These extras can save you on costs by charging off-peak or with your own solar energy.
- Connector type – In Australia, Type 2 (Mennekes) is the standard. Nearly all modern EVs sold here use it, including Tesla.
- Tethered vs untethered – A tethered charger has a built-in cable, making it quick to plug in each night. Untethered units employ a removable cable, which provides flexibility if you have multiple EVs or prefer a neater appearance.
- Solar compatibility – Some chargers, such as the popular Zappi, can prioritise solar energy and adjust charging speed based on how much your panels are generating.
- Safety certifications – Always check for the Australian Regulatory Compliance Mark (RCM) and AS/NZS compliance. This ensures that the charger meets local safety standards.
Considering these factors, you won't overpay for features you don't need, and you'll ensure your charger is completely compatible with both your car and home.
Electrician Hire & Permits
Putting in an EV charger isn’t one of those jobs you can do yourself. In Australia, the rules are pretty strict because they want to make sure your setup is safe and legal. Before you book an installation, here’s what you need to keep in mind:
Professional installation is a must – You can’t legally install a fixed EV charger on your own. A licensed electrician has to do it. It’s not just safer, it also protects your home insurance and avoids any nasty surprises down the track.
Secure your installation compliance – After the work’s done, the electrician should hand you a Certificate of Compliance. Hold onto it. You might need it later for insurance or if you ever sell your home.
Installing a charger in shared properties – Living in an apartment or strata building? You’ll probably need a written okay from the owners’ corporation or building manager. Some places already have EV policies, so check what’s allowed before you commit.
Installing a charger in a rental property – If you’re renting, talk to your landlord first. Get their approval in writing. It saves arguments later and, in some cases, can even make the property more valuable in the long run.
Utility approvals for larger setups – For a regular single-phase 7kW charger, you’re usually fine. But if you want a three-phase setup or several chargers, your electrician may have to give your electricity distributor a heads-up first.
With the right expert handling it, your charger gets installed safely, and you won’t have to worry about future problems.
Your EV Charger Installation Process
Knowing what happens on installation day can help ease the stress of the process. A Simple breakdown of the steps your electrician will take to install your home EV charger
- Site inspection – Your switchboard is inspected by the electrician, checking its capacity and examining the intended charger position. This is where it is determined whether upgrades are necessary.
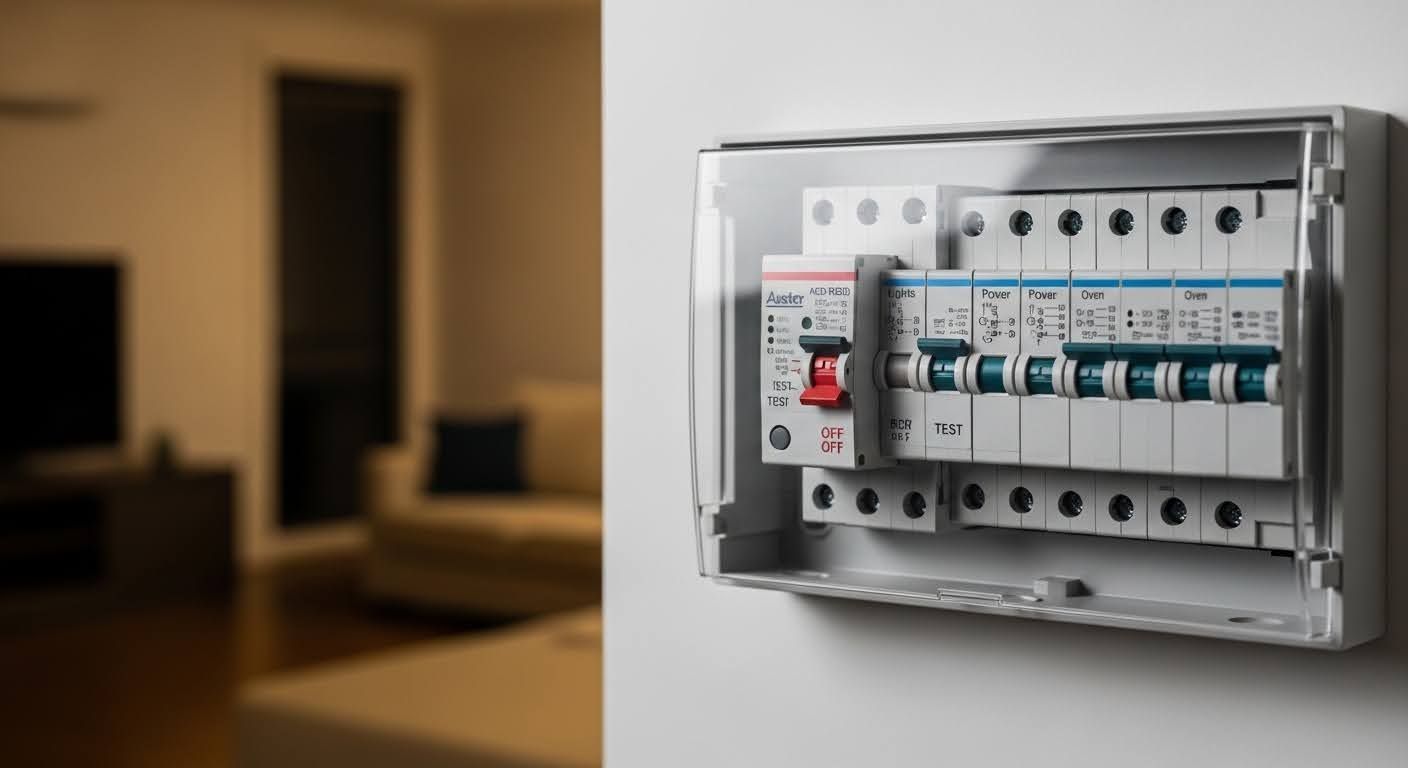
- Circuit installation – A new circuit is installed to the switchboard with its own breaker and safety switch (RCBO) to safeguard the charger and your house.
- Mounting the unit – The charger is fixed securely to a wall, usually in a carport or garage. If a wall is not available, it can be fixed to a freestanding pedestal.
- Wiring – Cables are run from the switchboard to the charger. They’re usually concealed in conduit or through the roof space, making everything neat and secure.
- Testing – Once connected, the electrician tests the safety devices, powers up the unit, and runs a trial charging session to confirm everything works as expected.
- Handover – Finally, you’ll get a quick tutorial on how to use the charger, any apps that come with it, and the key safety basics.
In a typical house, it all takes between 3 and 6 hours. When more work is needed, such as an upgrade to the switchboard, it takes a full day.
Safety & Australian Standards
Setting up an EV charger at home is exciting, but safety always comes first. It’s not only about ticking boxes or meeting legal requirements. It’s about protecting your family, your property, and your investment. That’s why, in Australia, electricians work under strict standards to ensure every installation is done the right way from the start. DM Electrical follows AS/NZS 3000 and manufacturer requirements on every install.
Follow the national wiring rules
The
AS/NZS 3000 Wiring Rules cover how electrical work must be done across the country. Any proper EV charger installation has to follow these guidelines so the system works safely and reliably.
Give your charger its own circuit
Your EV charger should run on a separate circuit. It should not share power with other appliances. Doing this helps avoid overloads and keeps your charging smooth and consistent.
Protect the system from overloads
To handle the extra load, an electrician will usually install a circuit breaker. Most of the time, the breaker is set at about 125% of the charger’s rating. So, if you have a 32A charger, a 40A breaker is normally used to keep things safe.
- Use the right safety switch
Every charger circuit needs an RCD or RCBO to shut off power if something goes wrong. - If the charger already has 6mA DC leakage detection built into a Type A RCD, you are covered.
- If not, your electrician will fit a Type B RCD, which gives you full protection.
Install it at the right height
The charging cable or socket should be at least 0.8 metres above the ground. This simple step protects the charger from water damage and everyday wear.
Choose a charger built for the outdoors
If you are putting your charger outside, go for one with an IP54 rating or higher. That means it can handle dust, rain, and other weather conditions, giving it a longer lifespan.
Following these standards keeps your charger safe, protects your home, and ensures your insurance stays valid. Once installed properly, you can enjoy years of safe and worry-free charging.
How Much Will It Cost?
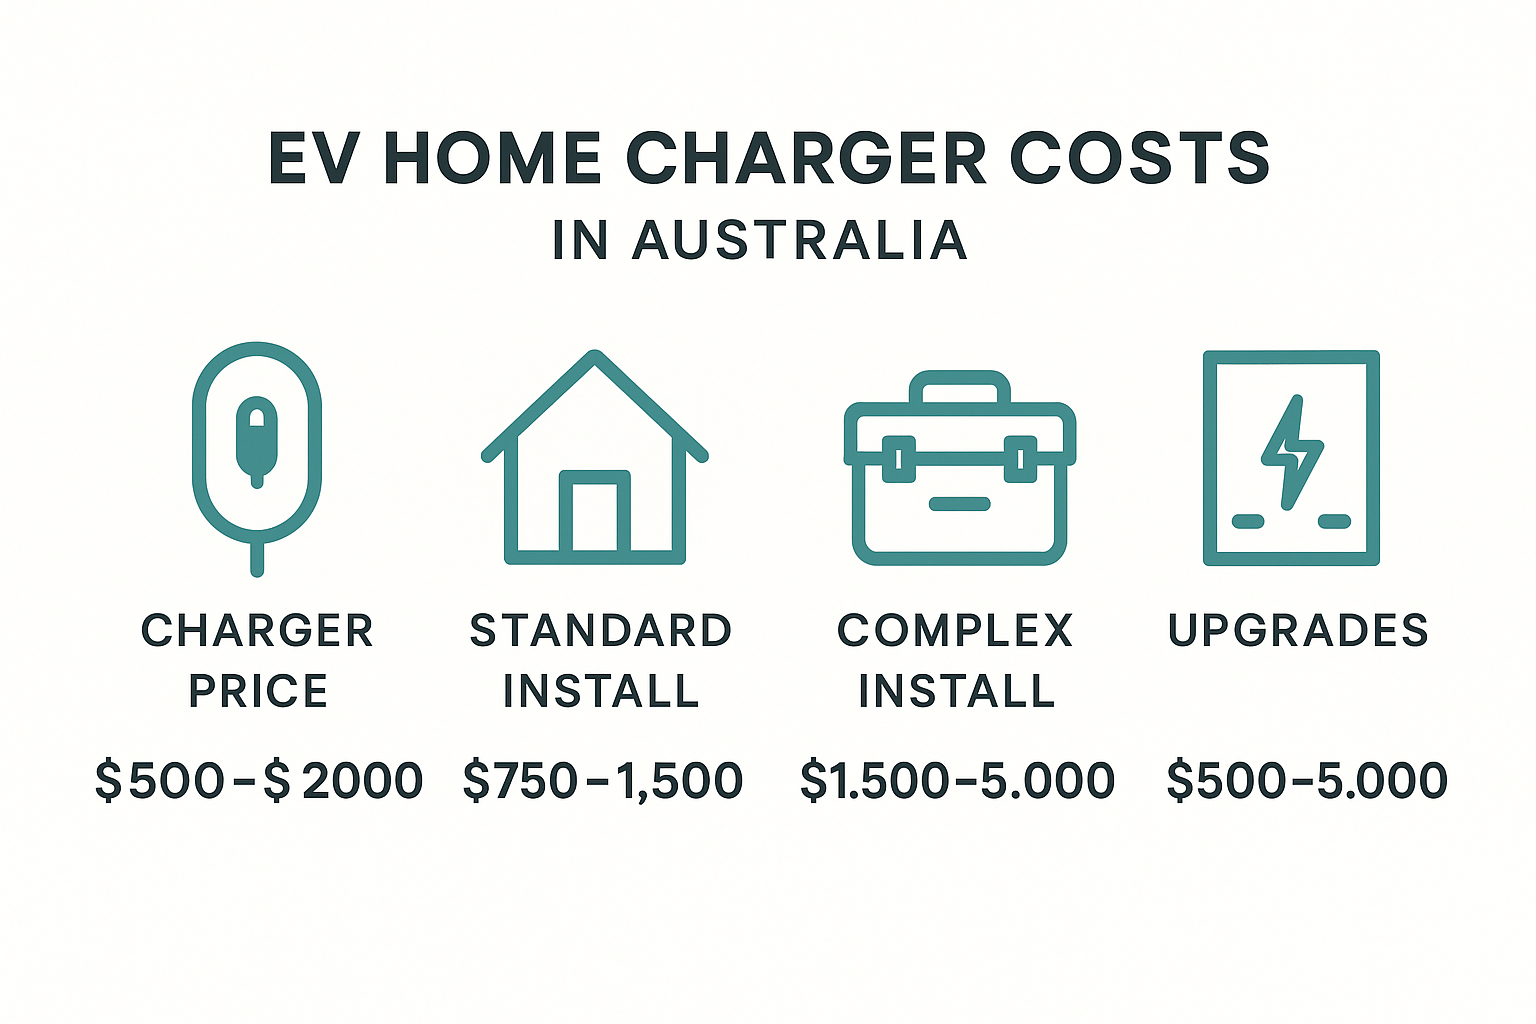
EV charger costs vary depending on the unit, installation, and upgrades.
Typical costs:
- Charger:
$600–$1,800
- Standard install:
$600–$1,500
- Complex install:
$2,500–$4,000
Extras:
- Switchboard upgrade:
$1,500–$2,500
- Service upgrade:
$3,000+
- Pedestal mount:
$300–$800
Most households spend $1,000–$3,000 for a complete Level 2 setup. Ask us for a fixed quote based on your switchboard, cable run, and phases.
Incentives & Energy Savings
While Australia doesn't yet have widespread rebates for home EV chargers, there are still ways to bring down the cost of charging and maximise your savings.
- Direct rebates – Incentives are limited, but some energy retailers, such as ActewAGL, have offered discounts or credits for customers installing a charger. It is always worth contacting your retailer.
- Off-peak charging –
Using your charger's scheduling feature, you can charge your vehicle overnight when electricity prices are usually half the price of daytime electricity. This will amount to hundreds of dollars in savings throughout the year. We configure time-of-use schedules for Ausgrid and Endeavour customers.
- Solar integration – When you have
solar installed on your roof, an integrated charger can utilise excess energy during the day. This reduces your grid usage and lowers running costs.
- Tax rebates –
When you are using your EV for work purposes, a part of the installation costs can be tax-deductible. Always confirm with a tax advisor before claiming.
Despite the lack of rebates outright, home charging is considerably cheaper than petrol fill-ups. On average, EV owners pay four to five times less per kilometre, and home charging is one of the biggest cost advantages of electric driving.
Smart Usage Tips
Now that your charger is installed, here are some simple habits you can develop to save money, be safe, and get the best out of your installation.
- Charge overnight –
Off-peak rates are much cheaper, and most smart chargers enable you to set the timing automatically.
- Store cables neatly – Fix hooks or holsters to keep the cables off the ground, reducing wear and avoiding trip hazards.
- Test your safety switch (RCD) – Press the test button every few months to ensure it’s still working properly.
- Avoid extension cords – Never use power boards or adaptors with your EV charger; they can overheat and are unsafe.
- Use your charger’s app – Monitor energy usage, track costs, and get alerts if something goes wrong.
- Charge with solar where possible –
If you have a roof-mounted PV array, program charging during sun hours to utilise free energy.
- Plan ahead for more than one EV – If your household may be acquiring a second EV, get a load-sharing charger that divides power between vehicles.
These small measures keep your charging experience trouble-free and efficient, and protect your investment in the long term.
ConclusioN
Getting an EV home charger installed in Australia isn’t as complicated as it sounds. With a bit of planning and help from a qualified electrician, you can have a setup that works well and fits your lifestyle.
For most households, a Level 2 charger does the job perfectly. It charges quickly overnight, keeps your car ready each morning, and helps you save money while lowering emissions at the same time. Contact with DM Electrical to design a safe, compliant, future-proof home charging setup.
FAQs
Q: Do I need council approval to install a charger at home?
A: For standalone houses, usually not.
Your electrician’s compliance certificate is enough.
Q: Can I plug my EV into a normal outlet?
A: Yes, but it’s very slow. A dedicated wall charger is strongly recommended for daily use.
Q: How long does installation take?
A: A simple install may be finished in half a day. Complex upgrades can take a full day or more.
Q: Will installing a charger increase my power bill?
A: Your bill will rise, but petrol savings outweigh it. Off-peak charging furthr reduces costs.
